Hello once again fellow scrappers! Today's page is one I made for Stamp Enjoy. I did some masking, stitching & as usual, a bit of stamping for this one.
The photos are of me & my husband while on a brief weekend getaway to Cape May, NJ. While walking around I found one of those photo booths that take continuous shots--I've always wanted to try these photo booths & make various funny faces as the camera went off--well here's the result of my little adventure! I think I'll be specifically seeking these photo booths out in the future b/c they make for great memories, fabulous candid shots & an excuse to scrap really fun pages.

This is a close up of the Roses stamp by Stamp Enjoy. I added Crystal Stickles to the image to dress it up a bit more.

The title is also a stamp by Stamp Enjoy. As you can see, I have a tendency of dressing up my stamps with either Star Dust or Crystal Stickles. I really like the added dimension the Stickles add to my stamped images.

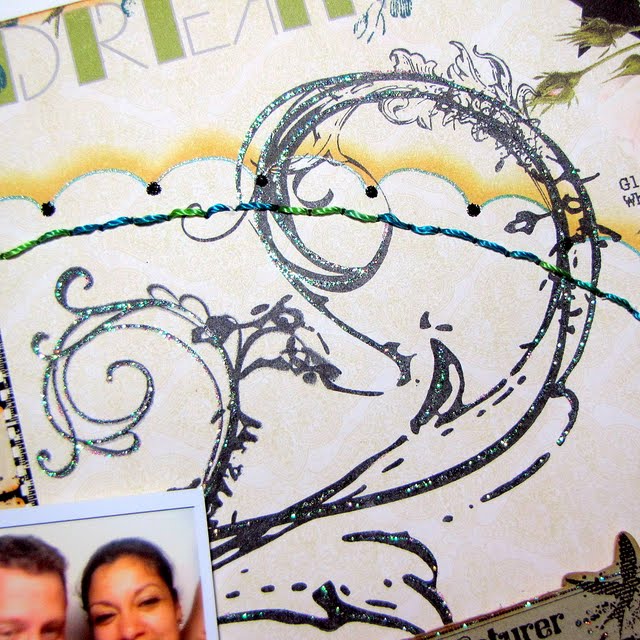
A close up of the stamped flourish. This stamp is by Prima & is from their Build-A-Swirl stamp line. I used black Staz-On to stamp the image...this gives the image a crisp sharp look. I also further dressed up the swirl with Crystal Stickles.

This is a close up of the Roses stamp by Stamp Enjoy. I added Crystal Stickles to the image to dress it up a bit more.

The title is also a stamp by Stamp Enjoy. As you can see, I have a tendency of dressing up my stamps with either Star Dust or Crystal Stickles. I really like the added dimension the Stickles add to my stamped images.

A close up of the stamped flourish. This stamp is by Prima & is from their Build-A-Swirl stamp line. I used black Staz-On to stamp the image...this gives the image a crisp sharp look. I also further dressed up the swirl with Crystal Stickles.
On this screen shot you can also see the circle stitching & the scalloped circle masking.

A close up of one of the three shimmery flowers. I made these flowers with water color paper. I have a brief tutorial on how I went about making this flower. If interested, please feel free to view the tutorial here.

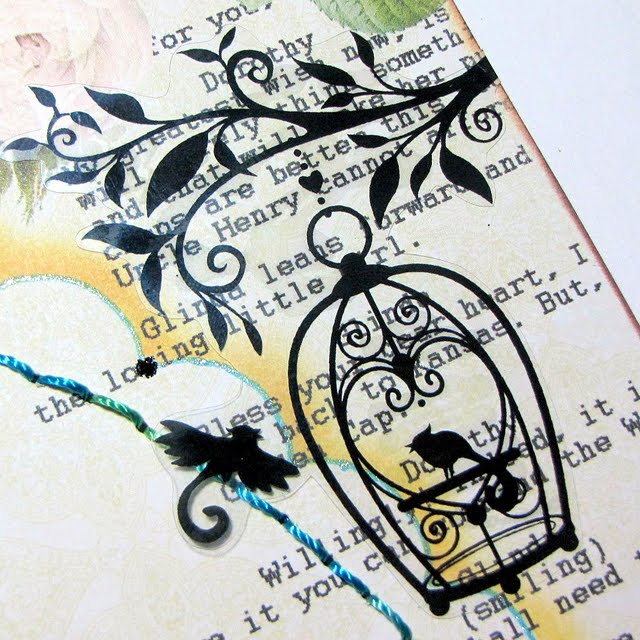
The bird cage is also a stamp by Stamp Enjoy. For this image I first stamped it onto a transparency with black Staz-On & cut it out. This way I was able to position it exactly where I wanted on my page & the stitching & masking was underneath the stamped image instead of above it.

Finally, a close up of the kissing couple. This is actually not chipboard--these are laser cut wooden images that I ordered from a French company called Scrap Desirs. I did not color in the design at all. I left it it's natural color. To give it that 'epoxy' look. I first inked it with embossing ink & heat embossed it with Kaleidoscope transparent embossing powder by Stampendous. I then embossed it three times more with Ultra Thick Embossing Enamel (UTEE). UTEE is what gave the design a thick epoxy look & the Kaleidoscope embossing powder is what gives the image it's bling.

A close up of one of the three shimmery flowers. I made these flowers with water color paper. I have a brief tutorial on how I went about making this flower. If interested, please feel free to view the tutorial here.

The bird cage is also a stamp by Stamp Enjoy. For this image I first stamped it onto a transparency with black Staz-On & cut it out. This way I was able to position it exactly where I wanted on my page & the stitching & masking was underneath the stamped image instead of above it.

Finally, a close up of the kissing couple. This is actually not chipboard--these are laser cut wooden images that I ordered from a French company called Scrap Desirs. I did not color in the design at all. I left it it's natural color. To give it that 'epoxy' look. I first inked it with embossing ink & heat embossed it with Kaleidoscope transparent embossing powder by Stampendous. I then embossed it three times more with Ultra Thick Embossing Enamel (UTEE). UTEE is what gave the design a thick epoxy look & the Kaleidoscope embossing powder is what gives the image it's bling.
The 'fence' the kissing couple is standing on is a chippie by Dusty Attic. I painted the chippie with a dark turquoise metallic paint.
TIP: To give any chipboard, cardstock or even flowers an 'epoxy' look--try embossing it with UTEE.


So beautiful Kay and I love the photos!
ReplyDeleteYou should design paper Kay! Lovely background. Great photo strips and fun memory.
ReplyDeleteWhat a professional design! I've been looking for a perfect design for my scrapbook and I just found yours and it really amaze me you have creative imagination
ReplyDeleteBellísima, amo cómo haces tus fondos, te quedan lindísimos!!
ReplyDelete