HOMEABOUT MERESUMETUTORIALSMY FAVES

Saturday, November 15, 2014

Naughty Or Nice? Layout

Hello again fellow scrappers!  With the Holidays just around the corner I figured I'd do a Christmas themed layout that's long overdue.  This is my son last year for Christmas--so I'm only 1 year behind!  :-)  I absolutely loved this photo of him where he's giving us one of his infamous backwards glances.  This photo begged to be fussy cut--so I did exactly that & I loved the end result.

This layout is a DT page for a cross promotion between Authentique & Petaloo.  I've used papers from both the 'Believe' & 'Faith' collections by Authentique.  For embellishments, I've used several flowers by Petaloo as well as their tinsel trim.
Once again, I turned to Page Drafts to kick start my mojo. I found this fabulous sketch & had to give it a go--I loved the design of this sketch--it's different & unique--right up my alley!


The Christmas tree is an idea I found on Pinterest.  Many referred to it as the 'Folded Christmas Tree'. I found this to be a quick, simple & easy way to create a Christmas tree embellishment for a layout since all it takes is half a circle & a couple of folds.  Plus once complete, you can decorate it in so many ways.  I dressed up my tree with clear rhinestones & red tinsel trim by Petaloo.
This was the best template I found to create this folded tree.  You can also search Pinterest with the words 'folded christmas tree' and several hits should come up.   Based on where you fold the half circle, you can also control how thin, wide or even how many layers your tree will have.
I've stored my journaling on this tag.  I created an on page pocket to store it & added a bit of red tulle to dress it up a bit.

The flower cluster is all by Petaloo--mostly from their Darjeeling collection.

Supplies: Paper - Authentique, Flowers - Petaloo, Dies: Cheery Lynn Designs, Chipboard Confetti - UmWow Studio, Mists: Heidi Swapp, Stamps - Stamps by Judith, Other - Mini Candy Cane, Mini Pine Cones, Mini Present Embellishment, Rhinestones, Spiral Clip

Thanks for stopping by & enjoy the rest of the week!

Photobucket

Friday, November 7, 2014

An Autumn Wavy Zig Zag Mini Album

Hello fellow crafters!  I'm way overdue for a post--I have several projects to show case--I just have to make the time to create the post. 

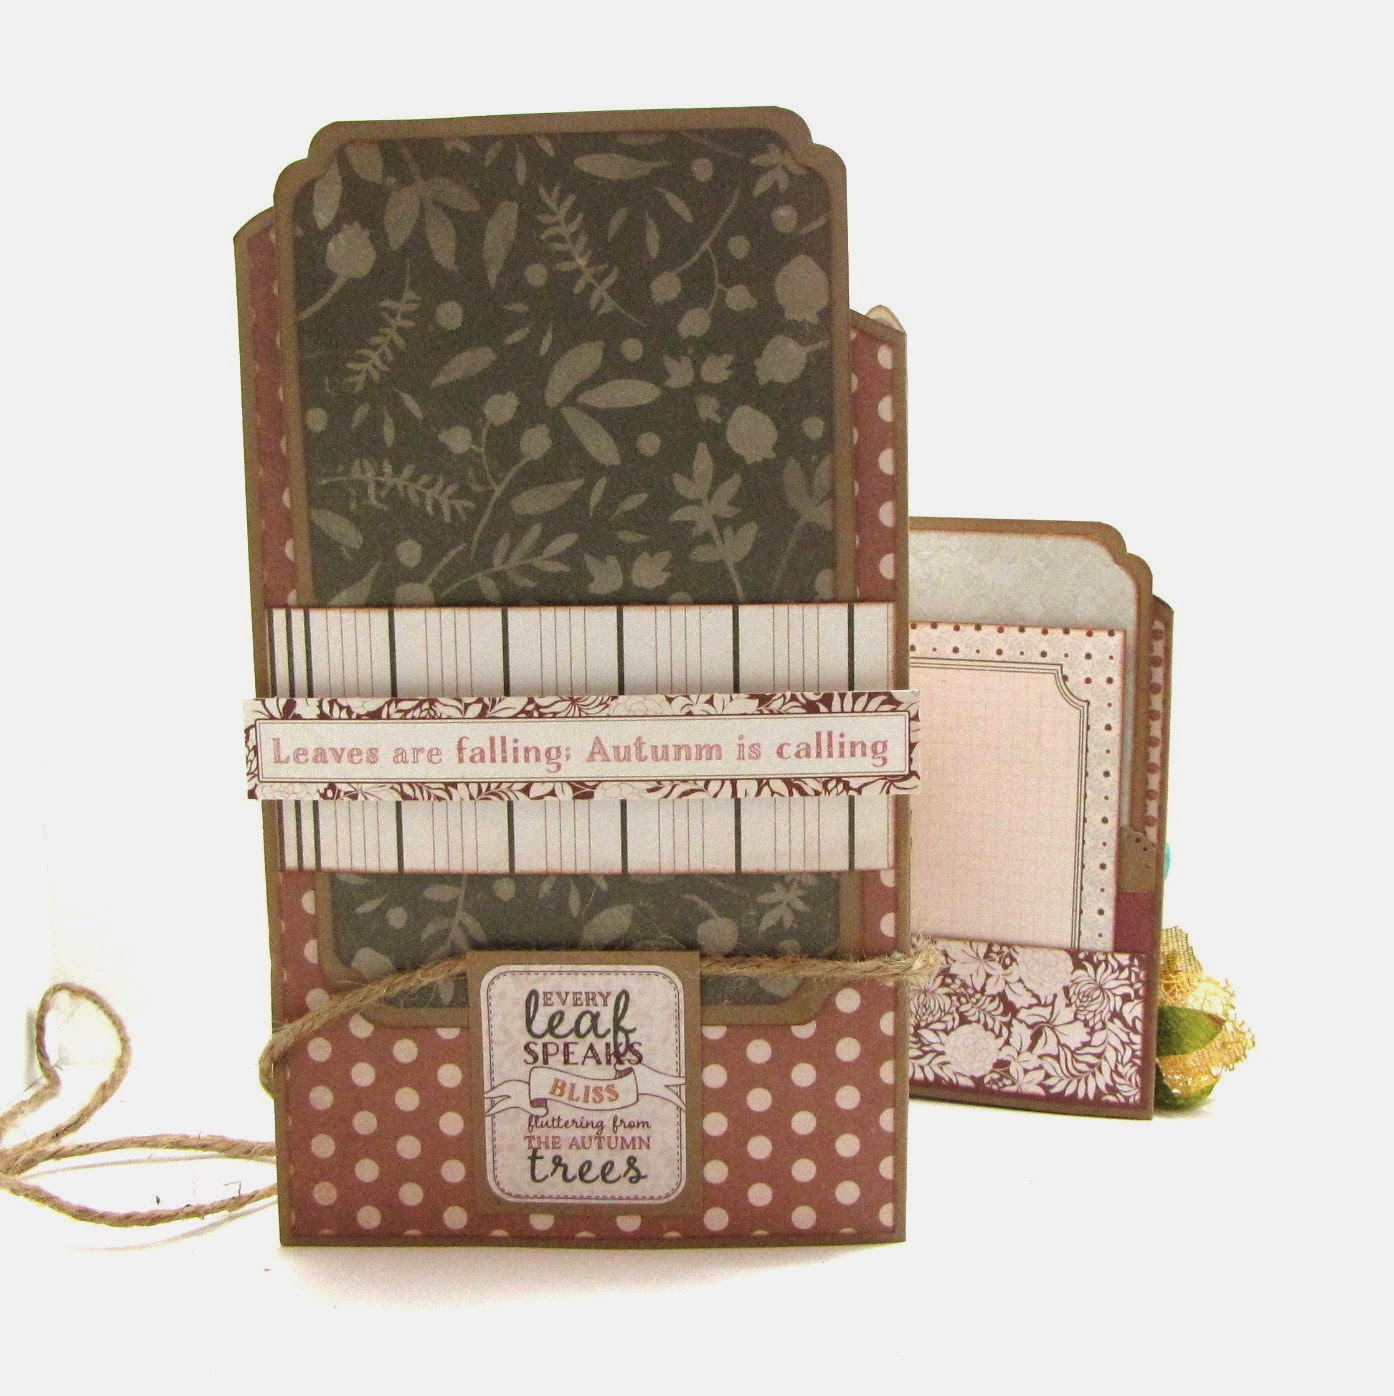
So let's start with this recent project that I created for Authentique where I used one of their newest collections 'Grateful'.  This collection is full of rich earth tone colors that represent Autumn as it's best & also the Thanksgiving holiday.  For this mini album I steered away from the Thanksgiving concept & made it more towards an Autumn themed mini.

This style of mini album is called a Zig Zag mini album.  I found a wonderful tutorial for this mini by My Creative Spirit on YouTube.  You can find her tutorial here. I followed her tutorial fairly closely & the main difference was on how I created the top edge of the mini since I used a mini border by Kiwi Lane to give it a 'wavy' border.


The bright orange organza star flower & the smaller white & yellow ribbon flower are items from my own stash.  You can find these & several more in different colors for sale in my Etsy shop The Kreative Korner.


A piece of burlap string keeps this mini closed.


Here once can better appreciate the 'wavy' border of this mini.  I used the Mini Madison Ave template by Kiwi Lane Designs to create this border.


This mini has double pockets on both sides which I've filled with photo & journaling inserts in different sizes. This mini can hold 2" x 2", 3" x 4" & cropped 4" x 6" inch photos.  The number of photos it can store depends on how the journaling cards are used.  They can be used as both journaling and/or photo mats.  


Here's the back of the mini. I created a belly band where you can slip a large photo mat. As a stopper for the photo mat, I'm using a sticker from the elements page that come with the 'Grateful' collection. It's only adhered at the bottom so the photo mat can tuck itself right inside.

This mini album is available for sale at my new Etsy shop The Kraft Nook.  If interested, feel free to visit my shop here.

To go along with this mini I created a brief video to show all the different journaling cards, photo mats & pockets this mini album has.

Supplies: Paper - Authentique, Stickers/Embellishments - Authentique, Templates - Kiwi Lane, Flowers - Petaloo, Kay's Kreative Korner, Other - Burlap String, Stick Pins

Thanks for stopping by & enjoy!


Photobucket

Thursday, October 2, 2014

My Little Pumpkin Layout


Halloween is just around the corner (if you can believe that) & let's not even talk about Christmas!  Besides all of the retails stores are doing the talking for us.  Lately, all the stores I walk into are a Christmas wonderland already.  How time flies!

This page is one that is long overdue.  This is my son celebrating his very first Halloween which was last year.  I dressed him up as a little lion & went to town with my camera.  :-)  I'm not sure yet what he'll be this year--am still giving it some thought.

All papers used are by Authentique's newest Halloween themed collection titled 'Spirited'. 
Once again, I based my design on a fabulous sketch from Page Drafts.  What fabulous sketches--I can't help but use these sketches as much as possible in my work.


Watercolors!  Another new adventure for me!  I'm starting to slowly start playing around with them & I'm very much enjoying the effects.  For this page I used pearl watercolors in soft hues of orange & purple.


This glitter spider I found at my local Michaels.  When I saw them, I knew they'd make for a cute embellishment to a Halloween themed project.

I added splatters of black mist to my background & created random coffee stains with the use of a Crafters Workshop stencil (conveniently called 'Coffee Splotch') .


As is a tradition with my layouts--I included journaling.  It's stored in a pocket that I tucked behind my two photos.


These hinges are part of the sticker collection that come with 'Spirited'.  They fit right in with the design of my page.  It almost looks like these two hinges are holding my layout together. 


After making this layout, I officially decided that I need to do more fussy cutting!  I love, love, love how my little guy looks in this cluster.  I hardly ever cut my photos out from their backgrounds--but I think I need to do this much more often!

Supplies: Paper - Authentique, Flowers - Kay's Kreative Korner, The Felt Shoppe, Embellishments - Authentique, Bling - ZVA Creative, Mist: Heidi Swapp, Stencil - Crafters Workshop, Other - Doilies, Watercolors Spiral Clips, Glitter Spider

Thanks for stopping by & enjoy the rest of the week...

Photobucket

Friday, September 26, 2014

Colorful Ribbon Wreath


Today I'm sharing my very first ribbon wreath!  I've seen several of these on Pinterest & decided to give it a try--I'm very happy with the end results.  I now have a colorful decoration in my craft room & best of all, I got to use up a ton of ribbon scraps & ribbon in general!

This wreath was made for the promotion currently going on over at the Authentique blog with both Imagine Crafts & May Arts.  All the ribbon seen here is by May Arts.

To further decorate the ribbon wreath--I added some handmade embellishments.  I used papers from Authentique's 'Harmony' collection to die cut a couple of flowers with the use of the 'Tattered Florals' die by Tim Holtz. 

The bird was fussy cut from one of the 'Harmony' papers (Spirit). 


All the embellishments had their edges inked with Midnight Chalk Ink by Imagine Crafts in order to make them 'pop' more.

Here's a close up of the wreath. As you can see there were many, many strips of ribbon used.  As a filler I used a couple of strips of tulle from my own stash in orange, yellow & gray.


This ribbon wreath can be a bit time consuming but it's worth the effort.  Also, it's a fairly easy project to make.  Here are some tips on how to make your own ribbon wreath...

Thursday, September 18, 2014

Pop Up Card Tutorial

Pop up cards is something that has been around for a very long time.  I remember creating these in arts & crafts class in grammar school.  It was because of these fond memories that I decided to revisit an old favorite & create a classic pop up card.  These are easy to create & give your cards a nice touch of dimensional interaction.

Onto the tutorial...

Wednesday, September 10, 2014

The Magic of Books Layout Berry71Bleu September Challenge

It's my turn once again over at Berry71Bleu.  This months theme is: The Things We Love.  You can find the full details of this months challenge here.

This month's challenge is being hosted by our very own Marivic Clifton. I have countless of things that I enjoy or love--usually it's the little things that bring the most joy.  So I had a bit of thinking to do.  In the end I decided to base my project on my love for books--in particular the Harry Potter series.

For someone like me who's had an active imagination ever since I was a child--these books were heaven sent!  Growing up I was intrigued with shows like 'Bewitched'--how wonderful would it be to just wiggle your nose & have wishes come true!  So when Harry Potter came along it introduced my imagination to a whole new world full of magic, unforgettable characters & amazing creatures beyond my wildest dreams.  These books gave me an amazing journey & I didn't even have to really go anywhere! :-)  I hope to one day pass these books on to my son whom I'm hoping will inherit my overactive imagination & enjoy them as much as I did.
Here's the mood board created by Marivic--it's full of several items that many of us can say we love. I'm especially eyeing that pink cake.  Oh yes, sweets...I have both a weakness & love for them!
My design is based on a fabulous sketch by Page Drafts.  It's always a guaranteed mojo jump start with these sketches!
 My thoughts are stored in a scroll which is one of my favorite ways to store journaling.  It gives me lots of room to write down thoughts & memories plus makes for a unique embellishment on my page.  I have a tutorial on how I make these scrolls here if interested.
 To make the stars I used a stencil by UmWow Studio & modeling paste.  I further dressed up my background with random dots of Stickles, stamping & mists.

 Check out Hedwig in his little cage!  I bought this Harry Potter paper pack & coordinating embellishments many moons ago--aside from another Harry Potter page found here--this is the second time I get to use them.  My favorite are the embellishments!  The Nimbus 2000, the frames, the lightning bolt...so many symbols that represent the books--if you're a Potterhead like me--you can relate!


Supplies: Paper - Creative Imaginations, Stencil - UmWow Studio, Embellishments - Creative Imaginations, Flowers - Prima, Kay's Kreative Korner, Glitter Glue - Stickles, Stamps - Sodalicious, Prima, Other - Modeling Paste, Spiral Clip

Don't forget to swing by the Berry71Bleu blog during the rest of the month in order to see the design teams take on this months challenge.  As always--play along if you can--there are several fabulous prizes up for grabs!

Thanks for stopping by & enjoy the rest of the week!

Photobucket

Tuesday, August 12, 2014

Heartbreaker Layout Berry71Bleu August Challenge


Good afternoon fellow scrappers!  I'm up on the Berry71Bleu for the month of August.  For this month the challenge is simply to follow a sketch created by fellow DT member Sandra Przybylska.

This little 'heartbreaker' is my son at about 6 months of age.  He's wearing one of my husband's baseball caps.  This particular photo is one of my faves where the hat fell to the side of his head & he's peeking out from behind it with one eye!  :-)
Here's the sketch provided by Sandra. It's simple but very versatile.  The elements can be interpreted in so many ways.  Take this sketch & make it your own!
 I've included many embellishments, bits & bobs that go with the theme of this page.  I wanted a couple of embellishments such as the yellow elephant to represent him as a baby & the more masculine embellishments such as the bow tie & mustache is to represent the 'little man' he's growing up to be.
 Here's a close up of the the steampunk hot air balloon chipboard by Creative Embellishments.  All of the paints & mediums applied to the chippie was done with my finger.  I've been without a scrap room for over a month right now since it's being renovated & I didn't have any brushes of any kind available to me.  I'm currently scrapping out of my dining room & have access to a limited amount of supplies...so finger it was!

I first applied a coat of white gesso, followed by red acrylic paint.  I finished it up by adding a coat of transparent glitter paint & crackle paint.
 Layering several elements has lately been my go to technique.  Punchinella is slowly starting to become one of my fave background elements.  I've used a piece of bright red punchinella in the background of all my layers & I love the effect it adds as it peeks out from underneath all the layers.


Supplies: Paper - 7 Dots Studio, Chipboard - Creative Embellishments, Embellishments - Chantal Vandenberg, Freckled Fawn, Punchinella, Panda Eight Designs, Flowers - Prima, Kay's Kreative Korner, Other - Mini Wooden Fence, Sequins, Doily

Thanks for stopping by & don't forget to visit the Berry71Bleu blog & play along with this month's challenge for a chance to win one of several fabulous prizes that are up for grabs!

Enjoy the rest of the week...
Photobucket