


I've gotten a couple of inquiries on how I go about achieving that 'brick' look on the brick wall chipboard. Dusty Attic chippies that I've used on both my 'Frankie' & 'Brothers' pages.
I got this technique from Mr. Tim Holtz himself. I slightly altered his technique--but it's his idea that I used in order to achieve this particular texture.
Let's get started!

Basic list of supplies: distress ink, coordinating distress embossing powder, coordinating distress stickles, embossing ink & heat tool. This technique should work with all colors--for the brick texture I've been using Vintage Photo. For this example I'm going to use a frame by Dusty Attic instead of a brick wall chippie. I only had one set of brick wall chippies & I've already altered all of it. The steps are exactly the same though...

Step 1: Dip your chipboard into the embossing ink & heat emboss it with the distress embossing powder.
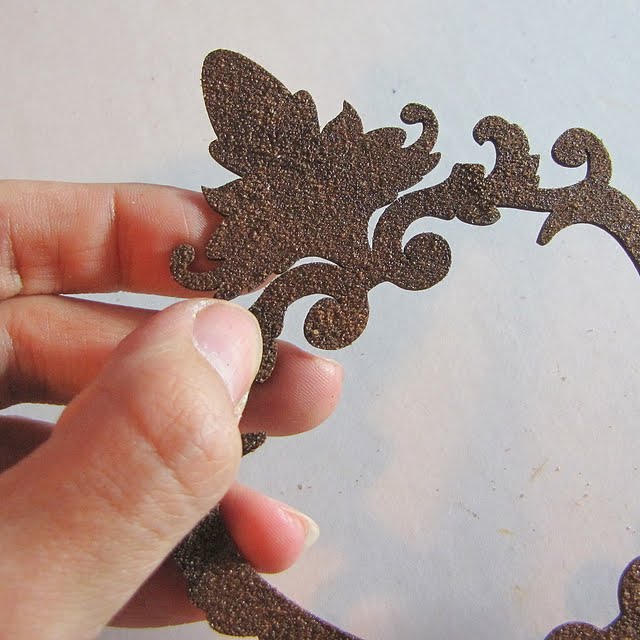
Step 2: Once you're done embossing your chippie--scrape off some of the embossing powder with your finger. This will reveal a bit of the raw chipboard & give the embossed powder a more rough texture.

Step 3: This step is optional. Sometimes I use a file to really rub off a good amount of the embossing powder. In this screen shot you can see in the background how much of the powder I have rubbed off. Be careful not to rub it all off--rub off just enough to give the chipboard a 'rustic' texture.

Step 4: Ink your chipboard with the coordinating distress ink.

Step 5: Once done inking--take the coordinating distress stickles & apply to your chipboard.

Step 6: As you can see from this screen shot--there's no better applicator than my own finger. I do not spread it out evenly...I tend to leave small clusters of distress stickles here & there to give it a natural rustic look.

Step 7: Here's the final outcome--this is the frame once dry.
I hope some of you found this tutorial helpful.

Thanks so much for sharing this awesome technique!!!! I guess I'd better break out my DA wall & give it a try!!!!
ReplyDeleteGreat Tutorial...Thanks for the technique! Hugs! :)
ReplyDeleteooohhh! Can't wait to try this! Thanks for sharing!
ReplyDeleteWow, great tutorial, I can't wait to try this!! Thanks so much for sharing!!!
ReplyDeletethis is awesome thanks for the info!
ReplyDelete