HOMEABOUT MERESUMETUTORIALSMY FAVES

Tuesday, February 10, 2015

One Kiss & I Was Smitten Layout


Snow, snow, snow...can we get anymore snow!?  Needless to say we've been getting slammed here in the East Coast with lots of that cold white fluffy stuff.  I enjoy cold weather & the occasional snow storm actually--but this is getting just a bit out of hand.  Oh well, just another excuse to drink hot cocoa or hot chocolate or just plain 'ol coffee!

Today's layout is a page I made over a year ago & have simply never shared.  This was made with the use of Authentique's 'Smitten' collection which was their Valentine's Day release for last year.

The photo is of me & my now husband back in the day when we were dating.  This was our very first vacation together.  We went to the Bahamas & bought matching outfits that you can see in the photo.  Awwww how sickeningly sweet eh!? :-)  Ahhhh gotta love those dating years--it's when you can actually get your guy to do things like this!  It's OK...it all paid off in the end--I ended up marrying him didn't I?


For this page I played around with the paper itself.  Folding it in different ways, rolling it, distressing it, putting some rips n' tears in it etc...I also used many of the elements & card stock stickers that came with the collection to embellish the page.


The layering of the elements really made the page as well as the use of pop dots to give some of the stickers some dimension.


My journaling was stored in the form of a scroll seen here.  It was & still is one of my absolute favorite ways to store journaling on layouts.  I can store many thoughts & stories in a compact way & the scroll itself makes for a unique embellishment.


Supplies: Paper - Authentique, Dies: Cheery Lynn Designs, Embellishments - Authentique, Other - Fabric Flowers, Rhinestone Flowers, Glitter Foam Hearts, Transparency

Thanks for stopping by, enjoy the rest of the week & stay warm!

Photobucket

Friday, January 23, 2015

My Little Angel Layout Berry71Bleu January Challenge


This month's Berry71Bleu challenge was an enjoyable one for me!  I finally had the opportunity to give my little guy a pair of angel wings.  This idea had been going around my head for quite some time now & I had also seen several other fellow scrappers do this to their own little angels.  So when the challenge for January was: Things With Wings--I took my queue & ran with it.

I kept the overall design of the page fairly simple since I wanted the focus to be on the photo.  Plus it didn't help that while I made this page I was home sick with bronchitis topped with a sinus infection. Meh.  I'm pleased with the end result & I love how the colors I chose pop against the solid black background.

My son was a little over a month old when this photo was taken--his facial features have changed a bit except for his big brown eyes--he still has those.


I tucked a small white glassine bag behind the photo that is being used to store my journaling tag.  I made the tag out of leftover white card stock scraps that I had in my stash & tied a bit of yellow tulle to the top.


Several items & embellishments were used to comply with this months challenge.  I've used Tim Holtz washi paper in the background that has images of butterflies.  In this photo you can see the different strips I used to create the background.  I included a mini mushroom bird embellishment & the most obvious element were the wings I gave my son.


These floral blue images were provided by one of our sponsors this month by Digital Paper. They were lovely pink images of flowers--but I needed blue to go with the theme of my page.  So I edited the images in Photoshop & changed their color.  This is the beauty of digital images--with just a little bit of photo editing knowledge you can manipulate the images to go with any theme you need.

Once I changed the color for the flowers, I printed them & fussy cut them out.


The angel wings is an image that I edited in Photoshop, printed & fussy cut out.  I did much fussy cutting for this page since I also fussy cut the photo of my son--I felt that cutting him out of the solid black background would make the wings more noticeable & give the effect that he actually has his very own set of wings.  :-)

Supplies: Black Cardstock - American Crafts, Washi Tape - Tim Holtz, Stencil - Crafters Workshop, Embellishments - SA Crafters,  Mists: Heidi Swapp, Flowers - I Am Roses, Other - Modeling Paste, Mini Mushroom Bird, Mini Bird's Nest, Card Stock Angel Wings, Tulle, White Gel Pen

Thanks for stopping by & enjoy the rest of the week!  Don't forget to stop by the Berry71Bleu blog to play along with this month's challenge & for the chance to win some fabulous prizes!

Photobucket

Friday, January 2, 2015

You're My Treasure Layout Berry71Bleu December Challenge


Happy 2015 everybody!!!  I hope everybody had a fabulous Holiday & an amazing start to 2015.  I know I started 2015 exactly how I wanted--relaxing in bed with my flannel PJ's & cuddling with two very handsome guys--my husband & my son!

Today I bring you my take on Berry71Bleu's December challenge.  The theme was 'Winter Chill'--to celebrate all the things that represent the wonderful Winter season--from fresh fallen snow to the beauty of icicles.  Whether you're a snow bunny who makes the best of the Winter chill or if you're the type that copes with Winter by snuggling next to a fire place with a hot cup of cocoa--we want to see your interpretation of a 'Winter Chill'.

My take was of my son--this photo was one of my faves taken for Christmas.  So I ended up doing a mix of a Winter/Christmas themed page.


With the Christmas rush I certainly didn't have time to come up with my own design--so once again I went to my fave source of creative sketches--Page Drafts, for inspiration.  You'll be seeing many more Page Drafts sketches in the near future.  Lately I just don't seem to have the time to come up with my own design--I'm a slow scrapper in general & when I do my own design then multiply my slowness by three times!  When I have the time to spare--this isn't a problem...but when I have to complete a project within a few hours--then Page Drafts is my solution!


I'm a very big fan of dimension & love them on my pages--so I always give my embellishments a lift by adhering them to my page with pop dots also referred to as foam dots.


All papers used are from Authentique's 'Cozy' collection.  This collection is composed of kraft & light blue colors with just a hint of red.  I accentuated the red a bit more by making the embellishments of my page mostly red.  These embellishments added a pop of color to the layout.


The Christmas themed images are actually digital images provided by one of Berry71Bleu's December sponsors, Gecko Galz.  I printed the images & fussy cut a few of them out--one of them being this very clever Santa Claus.

The silver flower is from my own stash--I have a few of these up for sale in my Etsy shop.


The adorable deer cut out was also a digital image by Gecko Galz.

Supplies: Paper - Authentique, Dies - Cheery Lynn, Flowers - Petaloo, Kay's Kreative Korner, Digital Images - Gecko Galz, Other - Mini Pine Cone Spray, Mini Gift Box, Fabric Poinsettia, Red Paper Doilies

Thanks for stopping by & enjoy the New Year!

Photobucket

Tuesday, December 2, 2014

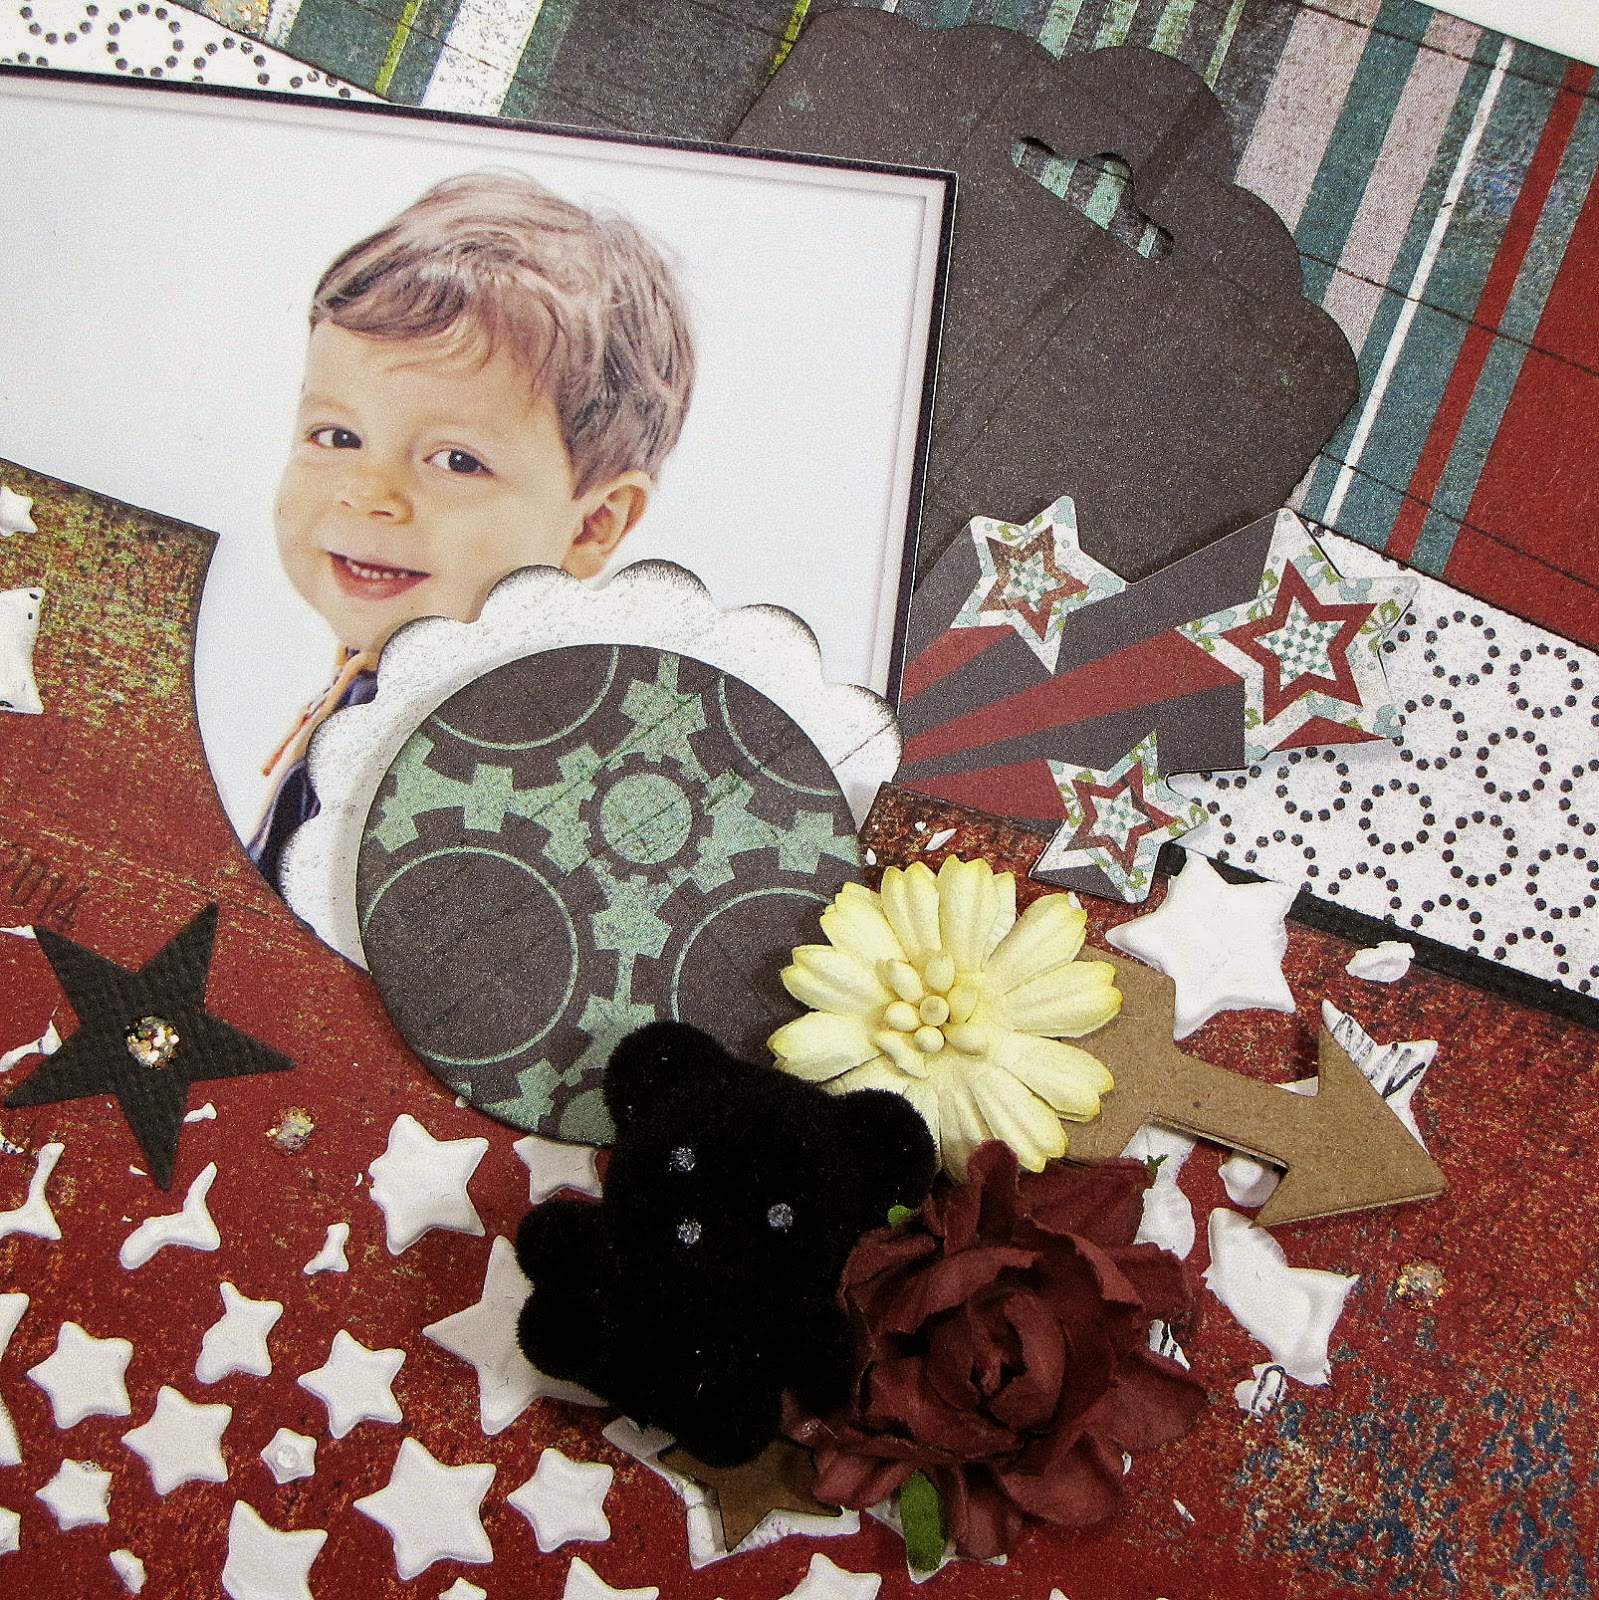
You're My Miracle Layout Berry71Bleu November Challenge


The November challenge at Berry71Bleu couldn't have fallen at a more perfect time!   The challenge for November was 'Early Birthday'--to create a project about yourself, your children, a member of your family, or a special someone - an early year birthday celebration!  As it turns out, November is my son's birthday month.  So I based this layout on my little guy turning the big '2'.  

I've already made it into a sort of tradition for him to pose on his birthday with a large wooden number representing his birthday.  I decorate the number based on the outfit he'll be wearing & it's been working out really nice.  So I think I'll keep this tradition until he's old enough to roll his eyes & say 'that's lame mom--I'll pass on the number'.  Then I'll have to come up with some other 'cooler' version of my tradition. :-)


For the design of my layout I turned to yet another fabulous sketch from Page Drafts.  This sketch jumped at me the moment I saw it & knew it'd work out perfectly for the photos of my son.


What I liked best about this sketch was that on page pocket at the top.  Turns out one can insert many little tid bits into a pocket such as this & I think I'll be using more hidden pockets like this in my future projects.  The black tag seen in the background tucked into my pocket is where I stored my journaling.  I can't have a page without some sort of journaling; is my theory!


The papers I've used are from the 'Oliver' collection by Basic Grey.  I've had these papers in my stash for many years--am glad I found the right occasion to use them.


This time I followed the sketch fairly closely because I really liked the elements that were part of the sketch.  So I added string behind my photos which is what I interpreted the swirly lines behind the photos in the sketch to be.


Using a date stamp, I stamped my son's birth date randomly onto the background of my page--so you can see a subtle date all along the background.

Supplies: Paper - Basic Grey, Stencil - Um Wow Studio, Chipboard - Um Wow Studio, Paper Punches - EK Success, Fiskars, Stampin' Up, Flowers - Michaels, Kaisercraft, Wild Orchid Crafts, Flair Button: Panda Eight Designs, Other - String, Molding Paste, Spiral Clips, Mini Flocked Teddy Bear

Thanks for stopping by & en joy the rest of the week!
Photobucket

Saturday, November 15, 2014

Naughty Or Nice? Layout

Hello again fellow scrappers!  With the Holidays just around the corner I figured I'd do a Christmas themed layout that's long overdue.  This is my son last year for Christmas--so I'm only 1 year behind!  :-)  I absolutely loved this photo of him where he's giving us one of his infamous backwards glances.  This photo begged to be fussy cut--so I did exactly that & I loved the end result.

This layout is a DT page for a cross promotion between Authentique & Petaloo.  I've used papers from both the 'Believe' & 'Faith' collections by Authentique.  For embellishments, I've used several flowers by Petaloo as well as their tinsel trim.
Once again, I turned to Page Drafts to kick start my mojo. I found this fabulous sketch & had to give it a go--I loved the design of this sketch--it's different & unique--right up my alley!


The Christmas tree is an idea I found on Pinterest.  Many referred to it as the 'Folded Christmas Tree'. I found this to be a quick, simple & easy way to create a Christmas tree embellishment for a layout since all it takes is half a circle & a couple of folds.  Plus once complete, you can decorate it in so many ways.  I dressed up my tree with clear rhinestones & red tinsel trim by Petaloo.
This was the best template I found to create this folded tree.  You can also search Pinterest with the words 'folded christmas tree' and several hits should come up.   Based on where you fold the half circle, you can also control how thin, wide or even how many layers your tree will have.
I've stored my journaling on this tag.  I created an on page pocket to store it & added a bit of red tulle to dress it up a bit.

The flower cluster is all by Petaloo--mostly from their Darjeeling collection.

Supplies: Paper - Authentique, Flowers - Petaloo, Dies: Cheery Lynn Designs, Chipboard Confetti - UmWow Studio, Mists: Heidi Swapp, Stamps - Stamps by Judith, Other - Mini Candy Cane, Mini Pine Cones, Mini Present Embellishment, Rhinestones, Spiral Clip

Thanks for stopping by & enjoy the rest of the week!

Photobucket

Friday, November 7, 2014

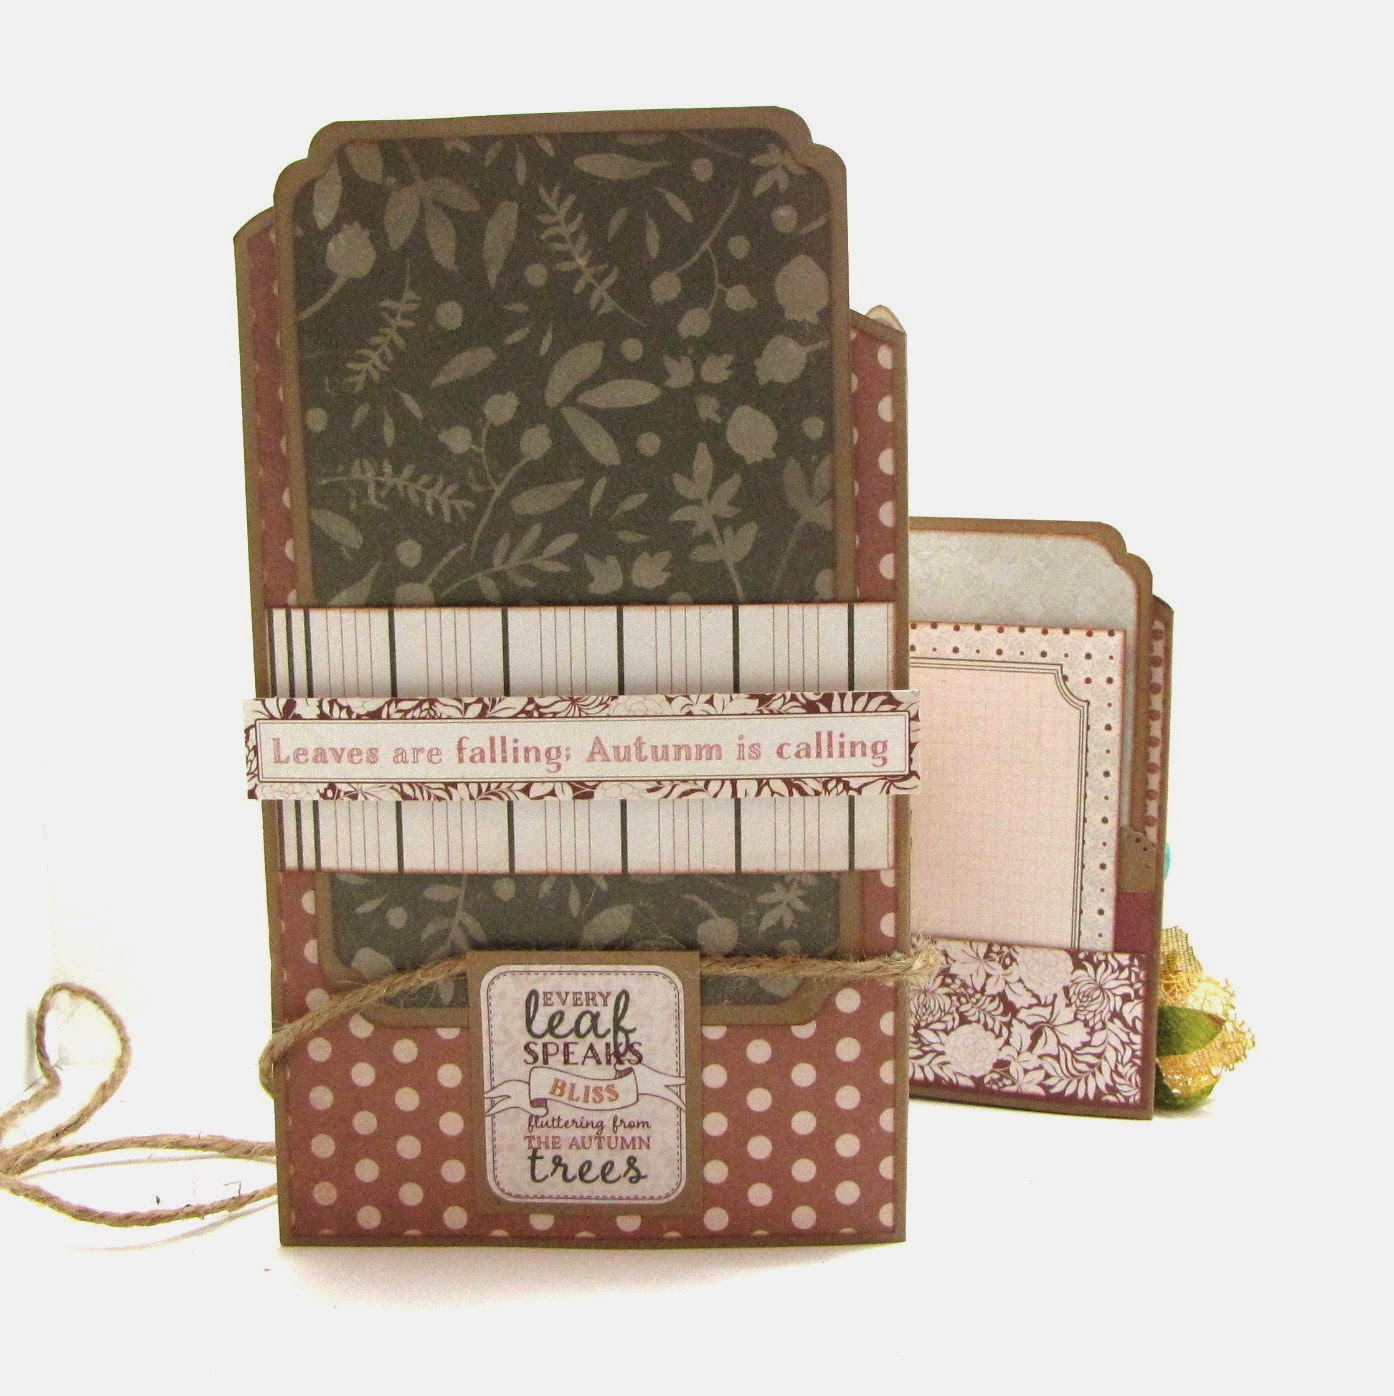
An Autumn Wavy Zig Zag Mini Album

Hello fellow crafters!  I'm way overdue for a post--I have several projects to show case--I just have to make the time to create the post. 

So let's start with this recent project that I created for Authentique where I used one of their newest collections 'Grateful'.  This collection is full of rich earth tone colors that represent Autumn as it's best & also the Thanksgiving holiday.  For this mini album I steered away from the Thanksgiving concept & made it more towards an Autumn themed mini.

This style of mini album is called a Zig Zag mini album.  I found a wonderful tutorial for this mini by My Creative Spirit on YouTube.  You can find her tutorial here. I followed her tutorial fairly closely & the main difference was on how I created the top edge of the mini since I used a mini border by Kiwi Lane to give it a 'wavy' border.


The bright orange organza star flower & the smaller white & yellow ribbon flower are items from my own stash.  You can find these & several more in different colors for sale in my Etsy shop The Kreative Korner.


A piece of burlap string keeps this mini closed.


Here once can better appreciate the 'wavy' border of this mini.  I used the Mini Madison Ave template by Kiwi Lane Designs to create this border.


This mini has double pockets on both sides which I've filled with photo & journaling inserts in different sizes. This mini can hold 2" x 2", 3" x 4" & cropped 4" x 6" inch photos.  The number of photos it can store depends on how the journaling cards are used.  They can be used as both journaling and/or photo mats.  


Here's the back of the mini. I created a belly band where you can slip a large photo mat. As a stopper for the photo mat, I'm using a sticker from the elements page that come with the 'Grateful' collection. It's only adhered at the bottom so the photo mat can tuck itself right inside.

This mini album is available for sale at my new Etsy shop The Kraft Nook.  If interested, feel free to visit my shop here.

To go along with this mini I created a brief video to show all the different journaling cards, photo mats & pockets this mini album has.

Supplies: Paper - Authentique, Stickers/Embellishments - Authentique, Templates - Kiwi Lane, Flowers - Petaloo, Kay's Kreative Korner, Other - Burlap String, Stick Pins

Thanks for stopping by & enjoy!


Photobucket

Thursday, October 2, 2014

My Little Pumpkin Layout


Halloween is just around the corner (if you can believe that) & let's not even talk about Christmas!  Besides all of the retails stores are doing the talking for us.  Lately, all the stores I walk into are a Christmas wonderland already.  How time flies!

This page is one that is long overdue.  This is my son celebrating his very first Halloween which was last year.  I dressed him up as a little lion & went to town with my camera.  :-)  I'm not sure yet what he'll be this year--am still giving it some thought.

All papers used are by Authentique's newest Halloween themed collection titled 'Spirited'. 
Once again, I based my design on a fabulous sketch from Page Drafts.  What fabulous sketches--I can't help but use these sketches as much as possible in my work.


Watercolors!  Another new adventure for me!  I'm starting to slowly start playing around with them & I'm very much enjoying the effects.  For this page I used pearl watercolors in soft hues of orange & purple.


This glitter spider I found at my local Michaels.  When I saw them, I knew they'd make for a cute embellishment to a Halloween themed project.

I added splatters of black mist to my background & created random coffee stains with the use of a Crafters Workshop stencil (conveniently called 'Coffee Splotch') .


As is a tradition with my layouts--I included journaling.  It's stored in a pocket that I tucked behind my two photos.


These hinges are part of the sticker collection that come with 'Spirited'.  They fit right in with the design of my page.  It almost looks like these two hinges are holding my layout together. 


After making this layout, I officially decided that I need to do more fussy cutting!  I love, love, love how my little guy looks in this cluster.  I hardly ever cut my photos out from their backgrounds--but I think I need to do this much more often!

Supplies: Paper - Authentique, Flowers - Kay's Kreative Korner, The Felt Shoppe, Embellishments - Authentique, Bling - ZVA Creative, Mist: Heidi Swapp, Stencil - Crafters Workshop, Other - Doilies, Watercolors Spiral Clips, Glitter Spider

Thanks for stopping by & enjoy the rest of the week...

Photobucket