HOMEABOUT MERESUMETUTORIALSMY FAVES

Tuesday, November 19, 2013

Altered Wooden Christmas Trinket Box

Good evening fellow crafters!  With yet another Holiday season right around the corner--I thought I'd share this altered wooden Christmas themed trinket box that was recently posted on the Authentique blog.

Authentique & Petaloo teamed up to bring you a variety of projects made with products from both companies.  I decided to alter this little wooden trinket box.
The entire box is decked out in papers from Authentique's 'Joyous' collection.  All flowers & trim used on the box are by Petaloo.

In addition to the flowers & trim I used a couple of mini presents, a metal snowflake & a mini candy cane to embellish the box.  All these items are actually ornaments that I found at my local craft store.  They are designed for miniature trees & decoration--but they work great for embellishing boxes, frames, layouts & just about any other altered project!

 Dots of red Stickles were used to accentuate the centers of the snowflakes on the patterned paper along the sides of the box.
One of my habits is that I'm always buying items that are not necessarily meant for scrapbooking.  These mushroom birds in a nest would be one such example.  I've had these in my stash since the beginning of time & finally a project came along where I could use them.
Here's a view of the inside of the box.  It's lined with papers from the 'Joyous' collection & one of the sticker elements also part of the same collection.

This box is available for sale in my new shop The Kraft Nook.  If interested, feel free to visit my shop here.

Thanks for stopping by & enjoy the rest of the week.

Photobucket

Thursday, November 14, 2013

Sweetness Easel Card With Two Drawers

Good afternoon fellow scrappers!  So I wake up today to find snow flurries slowly coming down.  What happened to Autumn I ask!?  It's like we skipped right over it.  Tsk, tsk, tsk...I'm also going into the stores & all I hear is Christmas songs...EEEEKKK...talk about rushing the end of the year!  Whatever happened to just taking time to smell the flowers?  Hmmmm...

Today I bring you a 'sweet' easel card.  This was my very first time creating an easel card.  After browsing Pinterest and seeing how basic easel cards had evolved, I decided to make a more intricate version of an easel card & created one with drawers.  It took me some time to create this--but I got the drawers to work & they actually slide in & out like an actual little dresser!  :-)  Gotta admit I enjoyed making this one.

I've made a tutorial on how I created this easel card.  If interested, feel free to check it out here.

I've used papers from Authentique's 'Sweetness' collection in collaboration with card stock from Core'dinations Whitewash collection which I have dry embossed & sanded down to show off the embossed design.
Here's a top view of the easel card.  The card itself measures about 4" x 6" inches with one drawer measuring 4" x 4" inches & the other measuring 2" x 4" inches.  I've used brads for the drawer knobs.
The digital image is by Tiddly Inks.  She's one of my favorite characters; Wryn.  This image was perfect for the overall theme of this easel card.  I've used the Lacey Ovals die by Spellbinders to frame her along with a string of light pink pearls.

Both the white butterfly & the organza pink start flower shown on the cover are items that are currently available in my Etsy shop.  If interested, you can visit my shop here. 

Those spots & splatters of white that you see on the embossed whitewash card stock is Chunky Embossing Powder in White by Stampendous.  I'm really liking the effect this chunky embossing powder gives.
With such an intricate card there really wasn't a place to write a message for the recipient.  So I created this mini pocket and adhered it to the back of the easel card.  It holds a single piece of white card stock.  Here you can hand write a sentiment or message for whomever will receive this card.

As for some news--I've recently opened up a second Etsy shop called The Kraft Nook. Nook, Korner, Niche...all synonyms really!  Just me playing with different words to achieve a similar meaning & to connect my two shops in some way.  The Kraft Nook will house any & all ready-to-ship items that I have up for grabs.  This shop will consist of just about everything & anything that I can come up with--cards, altered boxes, mini albums, canvases, wreaths, altered picture frames...it's really limitless.  I barely have three items listed so far--but I plan on adding items as I create them.

This easel card was recently listed in my new shop.  You can find it here if interested.

Thanks for stopping by & enjoy the rest of the week!
Photobucket

Tuesday, November 5, 2013

My Happy Place Layout

Good morning fellow scrappers!  It's a chilly crisp Autumn morning here in the North East Coast...my kind of weather!!  Am sitting here at the office drinking my morning cup of coffee.  Shhhhhh, don't tell the boss that I'm writing up this post at work!  Tsk, tsk, tsk...however, if I don't take the time now--this post will never go up!

It's a new month & with a new month comes a new challenge over at OUAS.  The theme for this month is 'My Happy Place'--which can be interpreted in many ways.  I interpreted it as my 'happy place' being right next to my three special guys--my family.

A couple of weeks ago we took a nice Sunday stroll through the park by my house & it was the perfect weather for some photos.  Luckily I was able to capture this one with all three of my boys.  Catching Toby without his tongue out is just about impossible!  :-)  If he's less hyper he gives his 'doggy smile' but this one such day he was so happy to be outdoors & in the park no less that he was panting up a storm.

So my happy place is next to my husband, son & fur-child Toby--wherever they are is where my happiness is...simple as that.

I've used papers from Authentique's Strong collection & a large acrylic frame by Clear Scraps.
Here's the sketch provided by Nadia that I based my page on.  I tend to use sketches more as guidelines and interpret the various elements on them in my own way while still keeping the basic flow of the sketch.
 I recently got my hands on Tim Holtz's Ornate Frame Bigz die and of course used it right away!  lol  That's the black frame you see in the upper right hand corner.

In this closeup you see how I gave the acrylic frame it's color.  I used a mixture of Ginger & Meadow Green alcohol inks and applied them to the acrylic with the applicator tool.
 With a medium sized paint brushed I randomly splattered a bit of green & black mists along the background.  At the very end I go over some of these splats with clear Stickles.
 This chipboard butterfly is by Imaginarium Designs.  I simply inked it with some embossing ink & heat set it with Marcasite embossing powder by Stampendous.
 Here's my traditional & favorite form of journaling...I've once again stored my thoughts on a scroll & tucked it underneath my photo.  I have a tutorial on how I make these scrolls here if interested.
 The large black flourish die is by Cheery Lynn.  This is their Mega Fanciful Flourish die.  I've highlighted some of the scrolls on the flourish with dots of Bisque Liquid Pearls.

The gold & pearl button are leftover trinkets I have from the Zeus and Zoe Etsy shop.


The two small yellow ribbon flowers in the upper right hand side are flowers from my stash.  I have many of these & have a few bunches up for grabs in my Etsy shop.  I have several of these ribbon flowers in different colors.  Feel free to take a look if interested.  They make for great embellishment fillers. 

Make sure you drop by the OUAS blog to see the other talented DT's take on this month's challenge.  Take the time to play along if you can.

Thanks for stopping by & have a great rest of the week!
Photobucket

Monday, October 28, 2013

Mini Accordion Journaling Booklet Tutorial

One of the main reasons that I began to scrapbook was to have a way to capture memories throughout my life.  I wanted a creative way to document life events & milestones in my life that I want to remember & to pass down to future generations.  Because of this, I absolutely love to include journaling into my work.  What I realized is that the more I crafted the more story telling I had!  So I've come up with a couple of different ways to store my journaling onto my page & at the same time still keep it private.  Here's one such example...

A mini accordion booklet provides you with a large amount of space to write down or print your thoughts or story & it takes up a small amount of space!  What I like the most about these little booklets is that they add a unique embellishment to your projects.

This tutorial shows how I go about creating these versions of accordion mini booklets.

Let's get started...

Wednesday, October 16, 2013

A "Thrilling" Halloween Pocket Mini Album


Hello once again fellow crafters!  Today I'm sharing a mini album that I made for Authentique.  I've used papers from their Thrilling collection to create this Halloween themed album.  I spent two very long evenings/nights working on this mini.  When I mean long--I mean long...one night I started at around 6:00 am and didn't go to bed till about 2:00 am.  Needless to say several cups of coffee were drunk during this lengthy craft session.

I wanted to give this mini that extra special touch since it's going to be used to store photos of my son's first Halloween.  I plan on dressing him up as a little lion!  :-)  I can't wait for that photo session to begin!

All papers & sticker elements/embellishments used are from Authentique's Thriller collection.  The chipboard binder is by Basically Bare & the paints used are by Art Anthology.
I've used two stencils on this page & both are by the Crafter's Workshop.  One is the 12x12 Halftone Borders & the other is the 12x12 Mod Spirals.  In this closeup you see both in action.  I gave the border the dotted effect with the Halftone Circles & the bold circles in the background were made with the Mod Spirals.  I've used Marmalade & Black Soot Distress inks for the dots & Shabby Shutters distress ink for the circles.

Orange twine was randomly placed behind all of my elements.  To highlight some of the stenciled dots & a few dots from the background paper itself I've used Clear Dust Stickles.
These flowers are by Petaloo (except for the yellow mulberry one).  The bright orange one was actually an off-white flower--I ended up spritzing it with a bit of Juicy Colorations spray by Art Anthology to give it that bright orange color I needed.
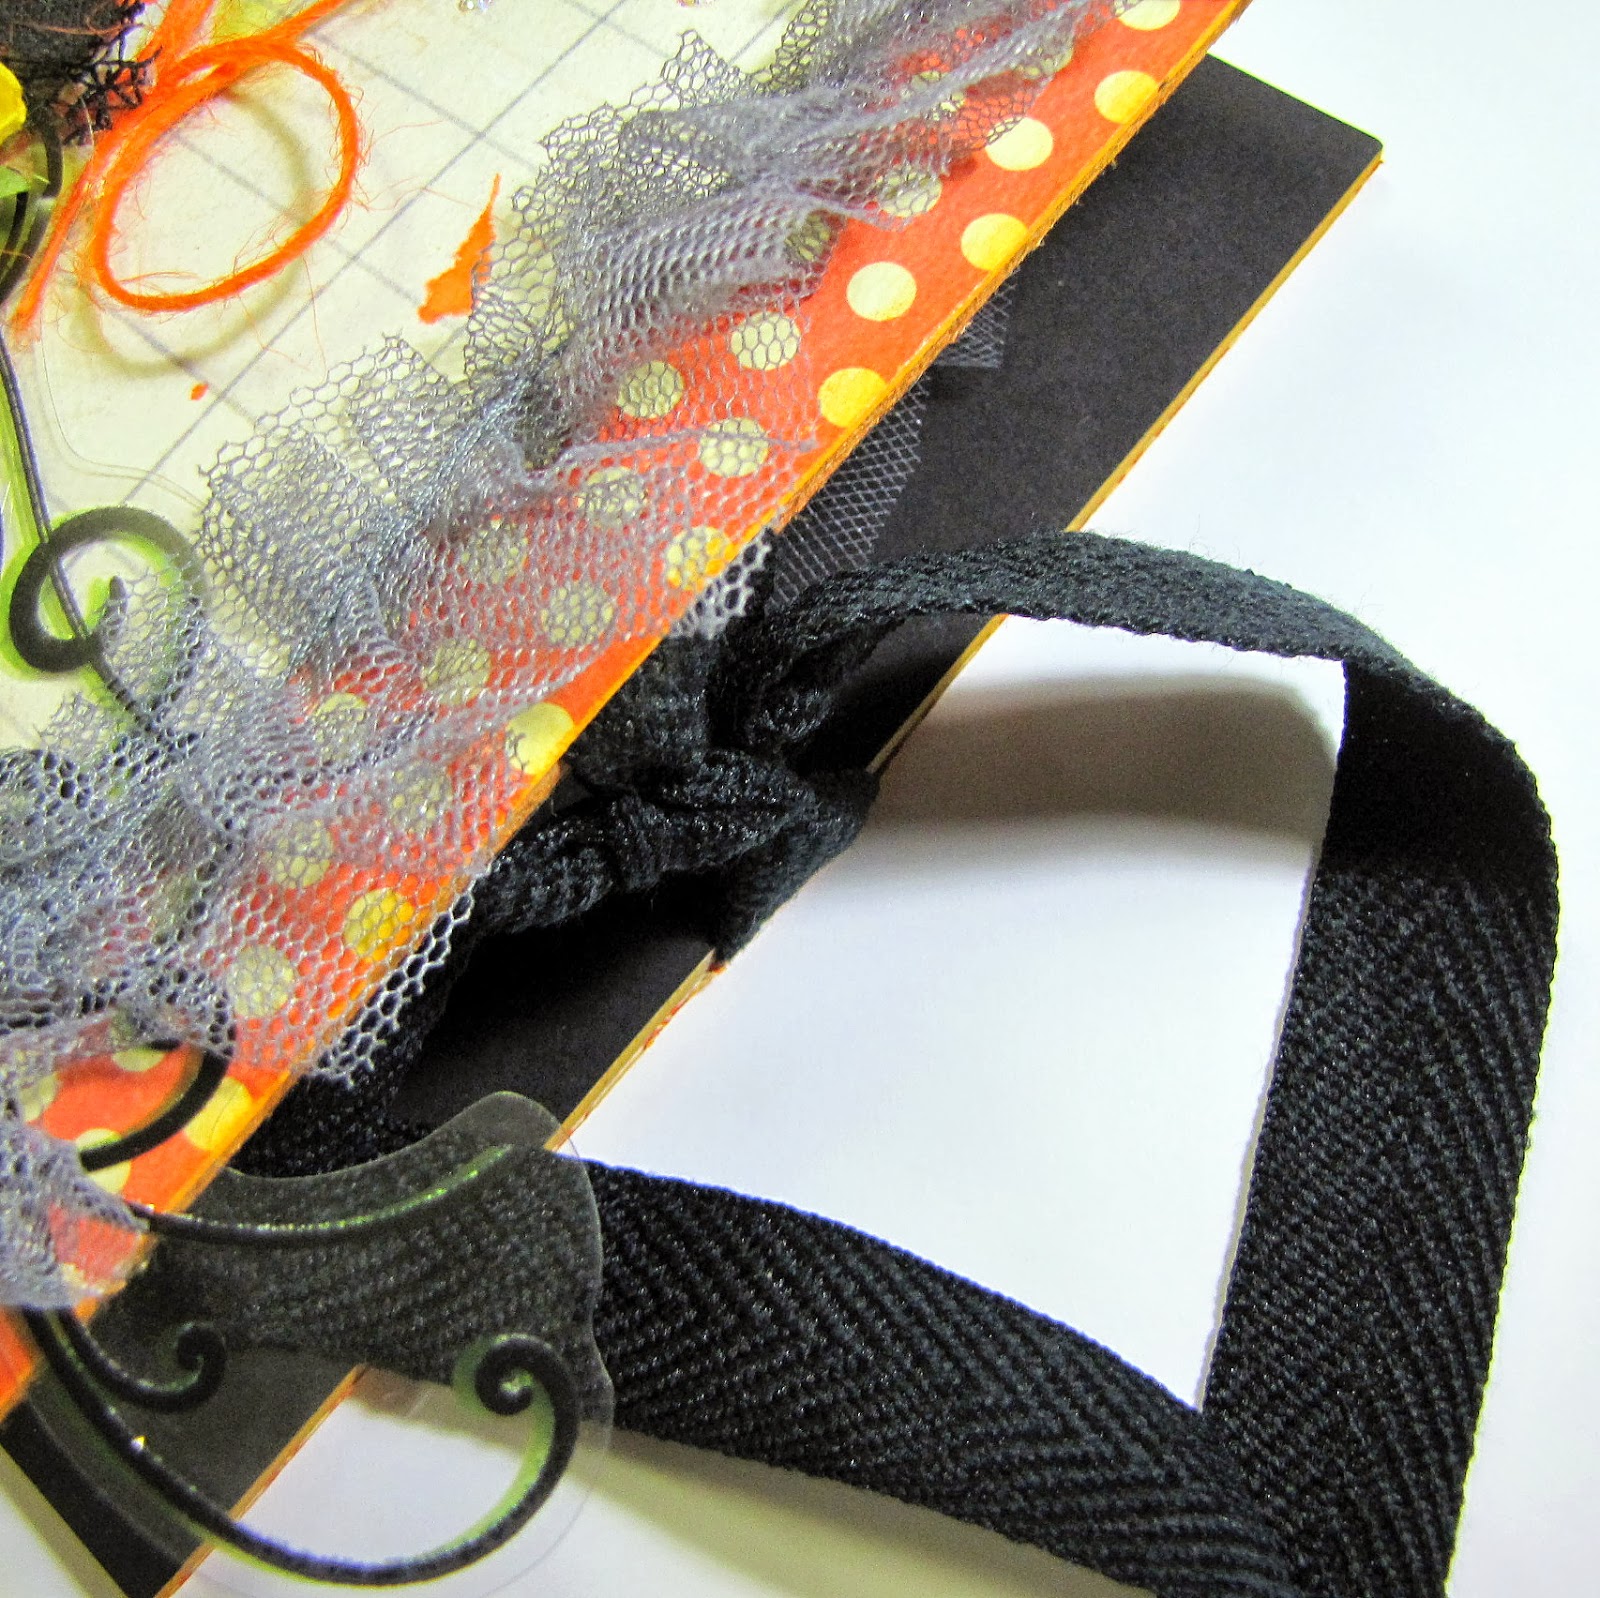
What I love the most about chipboard binders is that you can punch holes through it!  With my crop-a-dile I punched four holes along the top edge of the binder's seam.  I then strung several ribbon & tulle through it.  This is a really simple way to dress up any chipboard album.

Creating the effect on the album's seam was a lot of fun!  I basically got down n' dirty with two dimensional paints by Art Anthology (Black Leather Jacket & Frost).

First I brushed on the black paint in a pouncing motion & heat set it just a bit with my heat gun.  I didn't dry it all the way.  While the black paint was still fairly wet I pounced on the Frost paint.  This pouncing motion with the brushes ended up giving me an almost granite effect.  The paints have a touch of glitter to them so in person the seam has a shimmery look to it which really adds a nice touch.
If you follow my work you'll notice that I'm a big fan of dimensional embellishments.  I know I'll be adding embellishments with some dimension to them to my album so I needed a way to keep this binder closed.  With this in mind I hot glued black ribbon to the chipboard cover & then applied my papers on top to further secure it.
Now for the pages of the album.  This album consists of three different types of pages.  They're full of pockets...whether big or small--the point is that they have pockets!  lol  I'm very much a fan of journaling/story telling.  I like to document special moments/events in life so I'm always needing space to store my journaling.  With this album I wanted pockets as my storage.

The first type of page is a combination of a pocket & flip pages to store several photos.  Here's the top which consists of one large pocket & can also be used to mat a photo.  I've pulled out my tag just a bit so you can see it.  By the way, the journaling tag is an element that I've cut out from the Forewarn paper of the Thrilling collection.  Authentique's papers always seem to have elements on them that can be easily cut out & transformed into a tag.
Turn the page & behind the pocket there's a cover that flips up revealing another place for a photo & yes, another small pocket.
This same page in turn flips out revealing yet another mat for a photo.  So to summarize this one page holds at a minimum four photos, one large journaling tag & any additional tags or elements you may want to store in the inner smaller pocket.
Here's my second type of page.  This one only has one flip page & one small pocket.  The border seen on the right hand side is a small pocket.
The top smaller square on the left flips over revealing a secondary place for a photo--plus you have the base of the page for more photos & embellies.

My third page has no flip pages or pockets!  GASP!!  How did that happen?  Instead I decided to go simple with this one & just make it out of corrugated cardboard.  I gave it a bit of texture & color by mixing the black & frost paint again & then spritzing it with a bit of Juicy Colorations spray by Art Anthology.
Here's a closeup of the effects the paint & spritz gave the cardboard.  It's hard to capture with a camera.  In person there's a shimmery effect that I really liked!
The best part about ring binders--is that they're expandable!  As you can see, I've barely begun--there aren't even any pictures in it & it's already fairly bulky because of the two mulberry flowers I've added to my large journaling tags.  When complete--I'll be lucky if I can tie this mini closed in some way!  :-)

I hope to find the time to create brief tutorials on how I created the two types of flip/pocket pages soon.

Thanks for stopping by & enjoy the rest of the week!

Photobucket

Tuesday, October 15, 2013

Mini Accordion Journaling Booklet

Hello fellow scrappers! Today I have a mini accordion journaling booklet which is my DT project for the October challenge going on over at Berry71Bleu. 

I'm a huge fan of journaling.  I can't say I've made a page within the past 3 years or so that didn't have some form of journaling/story telling on it.  Because of this, I'm always looking for different ways to store my story on my projects.  One of my preferred ways (especially when I have a lengthy story to tell) is by creating a mini accordion style journaling booklet.  This booklet can store lengthy thoughts & also adds a unique embellishment to your project.

This month's theme is 'Autumn is in the Air' hosted by Marivic.  Those that follow my posts know by now that Autumn is my absolute fave season!  Love that crisp morning air, the turning of the leaves & all the pumpkin goodies that come out!  Like the pumpkin spice latte by Starbucks or the pumpkin muffins...how about some apple cider!  Yummy...ok before I really get hungry let's move onto the description of this mini...
This lil' guy measures 3 1/2" inches high by 2 1/2" inches wide.  It's tiny but is capable of holding many thoughts.  

The covers were created with the use of a 6x6 Gelli Plate by Gelli Arts.  I followed one of their very own video tutorials for creating 'transfer film' with the designs I created with the Gelli Plate.  

To make the design I used two stencils--the 6" Shattered Glass mascil by Clear Scraps & the 6" Art Is stencil by the Crafter's Workshop. I used my brayer to apply the paint.  All paint used except for the green circles were by Speedball Paint which is one of our sponsors over at Berry71Bleu for the month of October.

Next I applied some Copper paint onto a leaf stamp & randomly stamped my image--the final step was to apply the green circles which I did with the end of an empty roll of toilet paper!  :-)  In the Gelli Plates video tutorial you'll see that a paper cup was used.  Well, I didn't have a paper cup on hand...so I improvised!  It worked like a charm...

Oh one thing that I will reiterate--it's mentioned several times in the video tutorial & I can vouch that this is a very necessary step.  You must let each layer of paint you apply FULLY dry prior to applying the next layer.  I learned the hard way that this step cannot be skipped.  I can't say how many times I had to re-start my project because I simply got impatient...
Here's the back cover.  Once I transferred my image onto the packing tape I applied Metallic Perfect Pearls to the back of the tape & finally adhered the tape to some old vintage french paper I have in my stash.
I really liked this technique--it provides a much sharper image of the designs you apply onto the Gelli Plate. 

To make the covers sturdier the 'transfer film' was adhered to pieces of Grungeboard by Tim Holtz.
This booklet extends much further than shown here.  I kept it fairly compact in order to fit it onto my photo.  You can hand write your journaling or print out your story & then adhere it to the booklet.
Here's a side view of the mini booklet.  From the side it looks like a little notepad. 

To see the 'Transfer Film' video tutorial by Gelli Arts go here.

Make sure you visit the Berry71Bleu blog to see the other DT's take on this month's challenge & to play along for the chance to win some prizes!

I've created a brief tutorial on how to create these mini-booklets.  You can find it here.

 Thanks for stopping by & enjoy the rest of the week!

Photobucket

Wednesday, October 9, 2013

Flip Wallet Mini Album

 Hello fellow crafters! Just checking in to post this flip wallet mini album that I made for Authentique.  I used their Natural collection which is composed of primarily a teal color paired up with earth tone colors.

After browsing Pinterest for a bit I noticed that there are several 'flip' minis or 'wallet' minis that seem to be in style lately--so based on a couple of minis that I saw on Pinterest I decided to give it a try.

The album measures 6 1/2" x 6 1/4".  I had 1" white Velcro circles with sticky backing in my stash.  I used one of these Velcro circles to keep my album closed.

All flowers/vine seen on the cover are by Petaloo.  I left the metal ornate frame empty for now--but this will hold a name for the mini.

Let's take this flip album step by step...as you start to flip open the pages (this album flips open like a book both vertically & diagonally) you start to see all the different layers this little album consists of.
 This is what it looks like when you initially open the album by flipping open the cover.
Next you flip open the two top inner flaps revealing yet another level of yeah, you guessed it--more flip pages!  :-)
 
 Flip open one more layer & we have the base, two more sides and one more flip page with a pocket at the bottom. 
I've used the pocket to hold a couple of cutouts from the Natural collection that I've turned into tags.   
 I've added two additional side pockets that flip out as well to the two side bottom flip pages.
 Here's an example of what the small side tag pockets look like.   I love having little pockets in minis to store my thoughts/story/journaling.  A mini isn't a mini unless there's a story behind it!

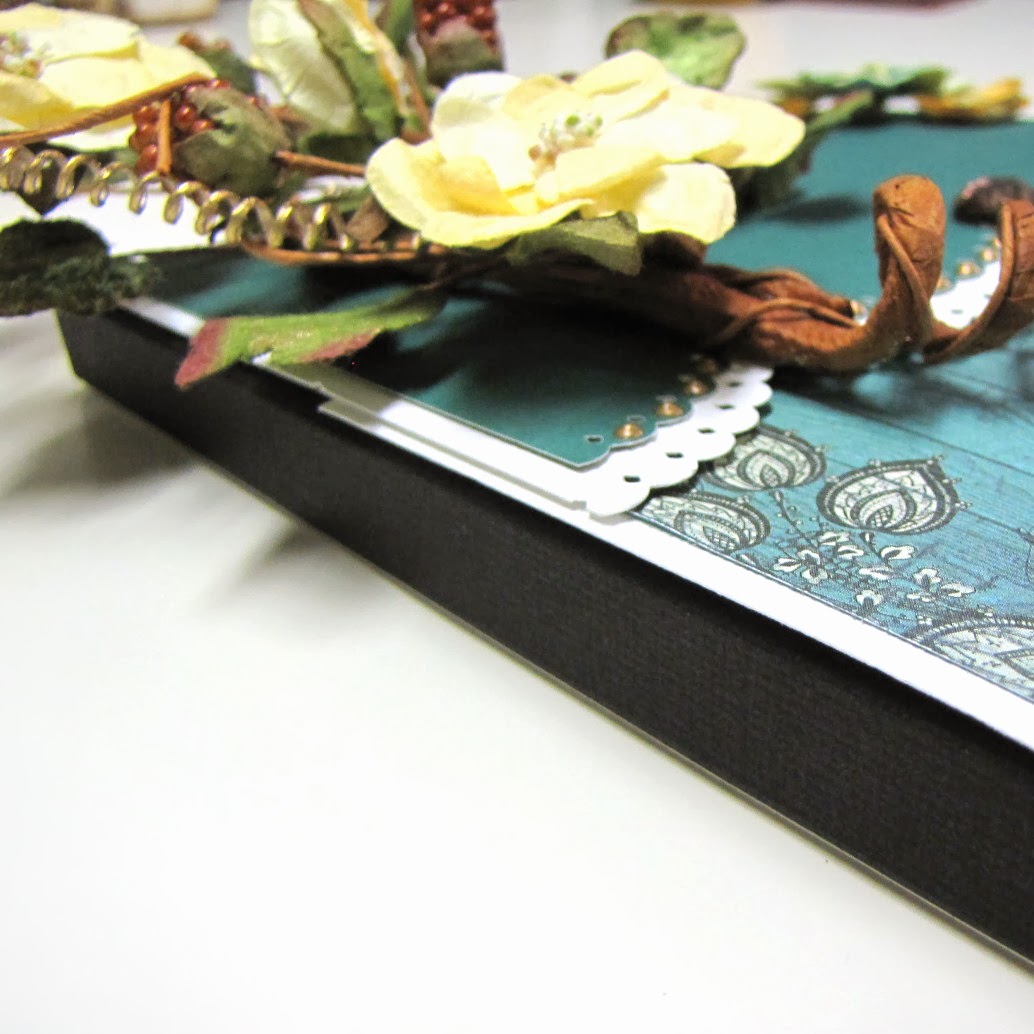
 What I loved the most about this particular mini is that it's meant to hold a bit of dimensional embellishments.  As you can see from this side view--it's about a 1/2" thick--this gives you a little bit of wiggle room to add a bit of dimensional flowers or embellies to the photos you add to the mini.  I love adding dimension to my work--so this album works particularly well for me.

There are several examples of all kinds of flip/wallet minis out on the internet--I tend to pull inspiration from different places to come up with a version that best fits my needs.

I hope to create a tutorial on how to create the base for this mini soon.

These minis make for wonderful gifts as well.  In fact, I've made a couple of these for friends as gifts.  They make for great keepsakes & add a personal touch to your gift.


Thanks for stopping by & enjoy the rest of the week!

Photobucket